
I have been using OpenStack single-node installation at home for the last couple of years. With a personal cloud at home, I could deploy apps used at home (i.e. media server, file storage…) and run labs.
I like OpenStack but have to say that it is a hard nut to crack. Installation is probably the most painful area. I have tried different approaches like manual install, devstack and packstack but always had to spend a lot of time fixing things.
Recently I came across another method: MicroStack. While Devstack uses Puppet to deploy Openstack, Microstack does the same job using a single snap package.
A full OpenStack in a single snap package. MicroStack is an upstream multi-node OpenStack deployment which can run directly on your workstation.
microstack.run
At the time of writing, the supported OpenStack services are Glance (Image service), Horizon (Dashboard), Keystone (Security), Neutron (Network) and Nova (Compute).
The only issue I’ve faced with MicroStack is the connectivity between VMs and physical network. It seems to be a feature that is not implemented yet.
Unfortunately, the Microstack documentation is limited at this point in time. Therefore, I had to do some research and came up with a “workaround” that is detailed in the Physical Network section.
MicroStack Requirements
According to the official documentation, these are the minimum requirements to run Microstack in OpenStack Single-Node mode:
- Hardware: 2 CPUs, 8 GiB of memory and 100 GiB of disk.
- Operating System: Ubuntu 18.04 LTS or Ubuntu 20.04 LTS.
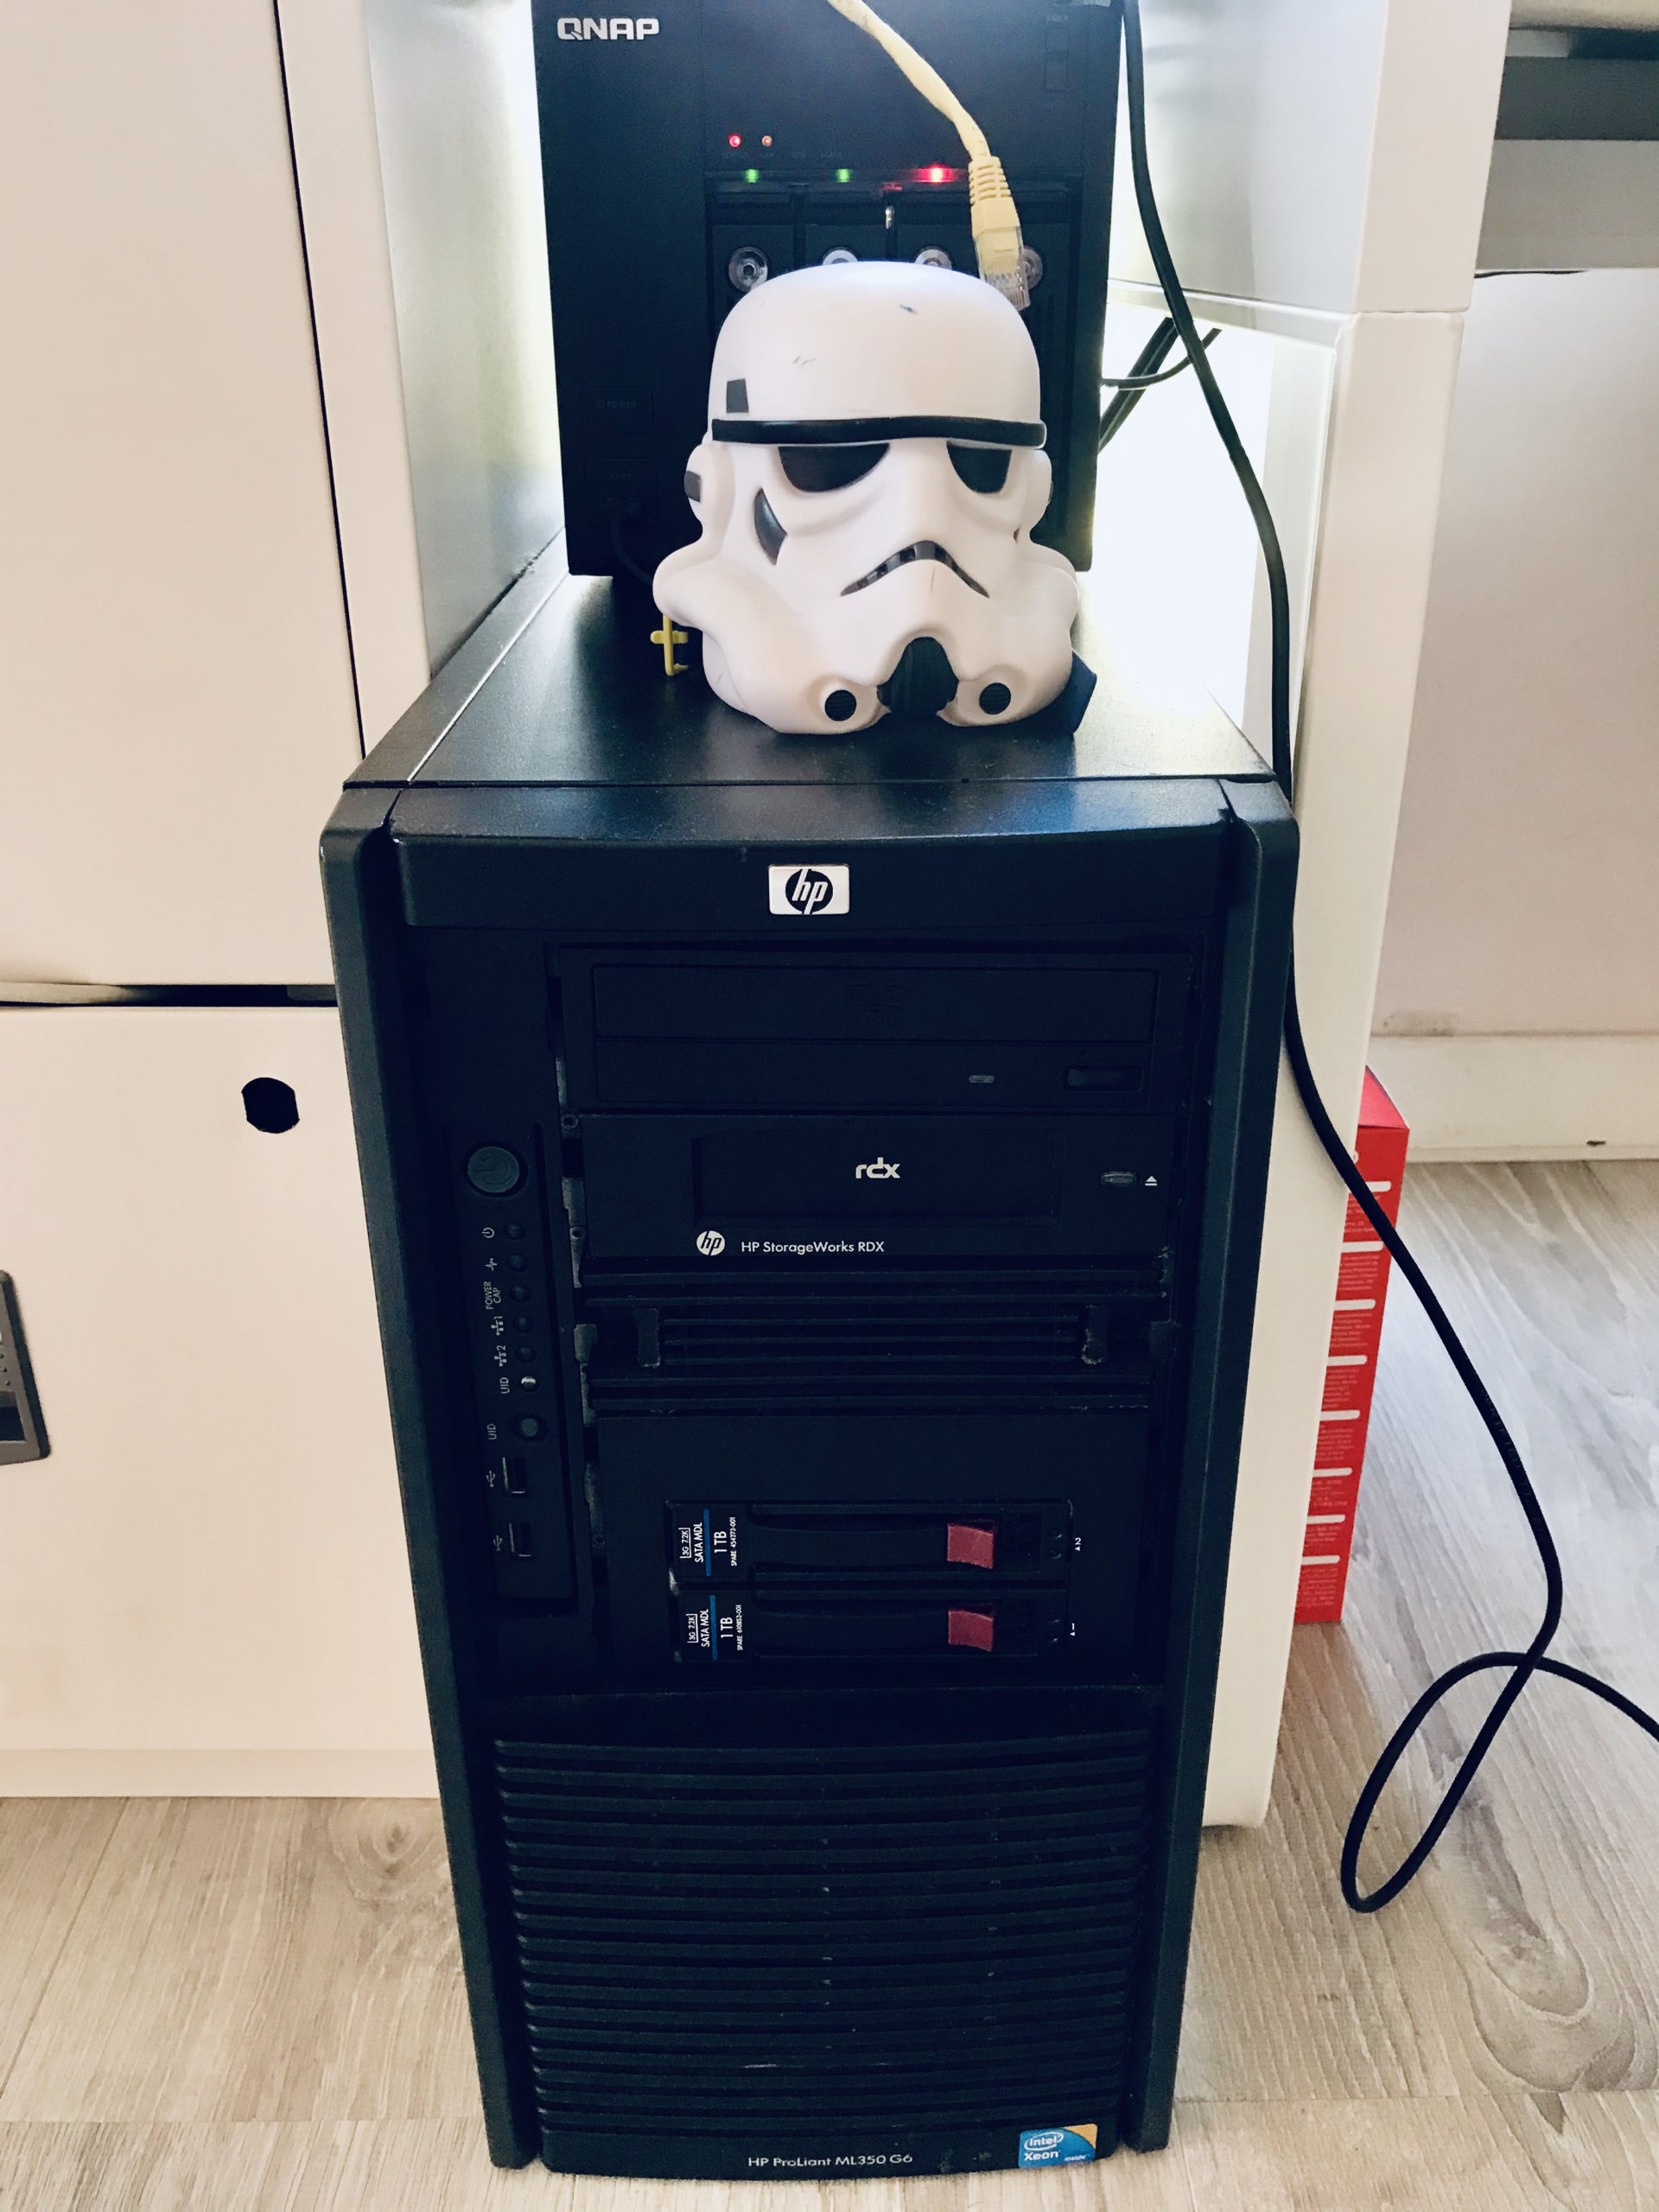
I am using my old HP ProLiant ML 350 G6, which I kindly call “Death Star”. It doesn’t have the power to destroy planets, but comes with 2 Xeon Quad Core and 96Gb RAM.
OpenStack Single-Node Design
The diagram below presents an example of a personal cloud for home lab.

The following sections use this design as a reference to implement MicroStack and a workaround to enable the connectivity from a physical network.
MicroStack (OpenStack Single-Node) Setup
The best thing about MicroStack is the easy setup. With literally two lines of command, you have OpenStack up and running.
First install using snap:
sudo snap install microstack --devmode --betaThen run the automatic OpenStack configuration:
sudo microstack init --auto --controlIt will take about 10 to 15 minutes to finish depending on your machine.
When the installation finishes, you will access the dashboard using the host IP address or hostname. If everything went well, you will see the login screen.

The admin password can be obtained by using the following command:
sudo snap get microstack config.credentials.keystone-passwordYou will notice that we need the prefix “microstack” when using any of the OpenStack components’ CLIs. We can remove the prefix by creating an alias, like this:
sudo snap alias microstack.openstack openstackAs we will use Open vSwitch CLI in the next section, please create an alias for it:
sudo snap alias microstack.ovs-vsctl ovs-vsctlSingle-Node Physical Network
This is where the fun starts! The default configuration does not allow you to connect VMs directly to your physical network. Unfortunately, the MicroStack’s documentation is limited at this point in time, so I had to do some research to find a solution.
I had a quick look at the source code, and it looks like IP addresses are hardcoded. Therefore, I used a “workaround” instead of a proper fix. As I couldn’t replace the default external network CIDR (10.20.20.0/24), I replaced it with a new one to work with my physical network.
Delete Existing Networks
In order to replace the default external network, we first need to delete it. We will also delete the test network, as it will no longer be required.
The default configuration has a router attached to the networks. Therefore, we need to remove it before deleting the networks. Find the “test-router” under Admin > Network > Routers and delete it.

Now go to Admin > Network > Networks and delete the existing networks.

Physical Network Configuration
The new physical network will enable internal networks to communicate with the external world. Therefore, we will name it “public”. Go to Admin > Networks > Network and click on the “Create Network” button. Use the same information as picture below.

Note: The default neutron physical network name for MicroStack is ‘physnet1’. Use the command below if you want to double-check this configuration.
sudo ovs-vsctl get open . external_ids:ovn-bridge-mappings | awk -F: '{gsub("\"","");; print $1}'For the subnet configuration, please replace the Network Address and respective Gateway IP for your physical network configuration.

Disable the DHCP and add the IP range from your LAN that will be reserved for OpenStack.

Important! Remember to check if your DHCP server’s if the IP address range do not conflict with the ones allocated for OpenStack.
If you are here just for the physical network configuration, the next steps are optional. Otherwise, follow the steps until the end to test your configuration.
The “Workaround”
Until now, we have done nothing different from the usual OpenStack network configuration. Although I don’t consider the configuration below as a proper fix for my problem, it did the trick for now.
First, we need to add the Physical Ethernet (enp3s4 in my case) as a port of our external bridge. As described in the Open vSwitch Common Configuration Issues, adding the port without removing the IP address from the Physical Ethernet is indeed a common mistake. Therefore, the following commands add the port, remove the IP address from Physical Ethernet, and add the server’s external IP address to the bridge.
ovs-vsctl add-port br-ex enp3s4
ip addr flush dev enp3s4
ip addr add 192.168.1.10/24 dev br-ex
ip link set br-ex up
Note: If you are remotely accessing your server, I would recommend running all commands above as a single command line.
Persist Changes through reboot
This section presents an approach to ensure that it will apply the right configuration after rebooting the machine.
As far as I understand, MicroStack uses a ‘oneshot’ service on systemd for network configuration. Therefore, I created another service to complete my network configuration.
First, we need to create the following script with the network configuration. Name it ‘microstack-br-workaround’ and save it under ‘/usr/local/bin’ folder.
#!/bin/bash
#
# Workaround to enable physical network access to MicroStack
#
# Adds the server physical ip address to br-ex.
physicalcidr=192.168.1.10/24
# Add IP address to br-ex
ip address add $physicalcidr dev br-ex || :
ip link set br-ex up || :
Now create the file ‘microstack-br-workaround.service’ in the ‘/etc/systemd/system’ folder.
[Unit]
Description=Service for adding physical ip to microstack bridge
Requires=snap.microstack.external-bridge.service
After=snap.microstack.external-bridge.service
[Service]
ExecStart=/usr/local/bin/microstack-br-workaround
SyslogIdentifier=microstack-br-workaround
Restart=no
WorkingDirectory=/usr/local/bin
TimeoutStopSec=30
Type=oneshot
[Install]
WantedBy=multi-user.target
Enable the service, so it can run during the next boot.
systemctl daemon-reload
systemctl enable microstack-br-workaround.service
Now you can reboot to check the network.
Home Lab Network
Here I describe how my home lab network was configured. Change some parameters if you know what you are doing.
First go to Admin > Networks > Network, click on ‘Create Network’ and use the settings from picture below.

Now give a name to the subnet and define the respective CIDR block.

Leave the DHCP checked and click on the ‘Create’ button.

Now we need to connect our home lab network to the public network. Go to Admin > Network > Routers and click on ‘Create Router’. Use the information from the picture.

If you go to Project > Network > Network Topology, the router appears connected to the public network. Let’s connect it to the home lab network by clicking on the router and then on ‘Add Interface’ button.

Choose ‘home-lab-network’ from the drop-down list and click ‘Submit’.

The resulting network topology should look something like this.

Test Virtual Machine and Security Group
Now we need to check if our configuration works. Following the diagram from the previous section, we will create the VM and respective security group.
Floating IP
First allocate a floating (public) IP that the VM will to access the physical network. Go to Project > Network > Floating IPs and click on ‘Allocate IP to Project’. Leave the default configuration and click ‘Allocate IP’.

You should be able to see the allocated floating IP in the list.

Security Group
We also need to create the security group before the VM. Go to Project > Network > Security Groups and click ‘Create Security Group’. Then name it ‘test-sg’ and click ‘Create Security Group’.
After creating the security group, you will be redirected to the rules management page. Otherwise, go to Project > Network > Security Groups and click on the ‘Manage Rules’ button for the ‘test-sg’ group.
We are going to add couple rules for our test. One to allow us to ping the VM and another to connect via SSH. Click on the ‘Add Rule’ button and choose ‘All ICMP’ from the rule drop down list as shown in the picture below.

Click on the ‘Add’ button and repeat the same process for the ‘SSH’ rule.
Virtual Machine
Finally, it’s time to create our VM. Go to Project > Compute > Instances and click on ‘Launch Instance’ and then use the following information to create your instance:
- Instance Name: test-instance
- Select Boot Source: Image
- Create New Volume: No
- Allocated Image: select the cirros image in the ‘Available’ section by clicking on the up arrow.
- Flavor: select ‘m1.tiny’ from the ‘Available’ list by clicking in the respective up arrow.
- Allocated Network: select ‘home-lab-network’ in the ‘Available’ list by clicking in the respective up arrow.
- Security Groups: remove the ‘default’ group by clicking on the respective down arrow and then select ‘home-lab-network’ in the ‘Available’ list by clicking in the respective up arrow.
We need to associate a Floating (public) IP to the VM, so it can connect to the physical network. From the Actions’ drop down list, select ‘Associate Floating IP’.

Then assign the floating IP.

Testing Your OpenStack Single-Node
We can now test the network connectivity. Start with a simple ping test.
ping 192.168.1.19Then connect to the VM via SSH. The default password for the cirros user is “gocubsgo”.
ssh cirros@192.168.1.19You can use the following command to test the internet connectivity from your VM:
curl -I http://www.google.comConsider the VM’s internet connection successful if you received the HTTP/1.1 200 OK response.
Conclusion
I expect that by now you have your own OpenStack Single-Node up and running. I have been thinking about looking at the source code and see if I can find a more definitive solution. Although, I may not have much time for it and the MicroStack guys may include this feature in near future.
 Pi Pico Videoconference Controller
hello Sir,
do you have some guides to deploy openstack on an ubuntu server in a production environment?
For production environments I would recommend to take a look at:
https://ubuntu.com/openstack/install
And bear in mind that MicroStack is currently in beta state.
Rodrigão, muito bom o post! Era o que eu precisava para começar com openstack 🙂 Abração!
What if we are using Microstack Multinode and we have the Public IP block ?
e.g eth01 – 100.250.1.45
And we have another block of Ips e.g 35.210.55.12/29 how would we set VM’s to access Public network?
Please help we are working on this issue for a week, and Openstack is new to us? Any solution to this workaround?
Hi, thank you for this wonderful tutorial.
Please, could you include how to create a new volume? Always I’ve tried I’ve gotten errors
Thanks
Hello Rodrigo,
This is a very nicely written blog about OpenStack single-node installation with MicroStack!
My name is Tytus Kurek and I am a product manager at Canonical. I am interested in improving MicroStack, so your feedback about the external network configuration is very useful to me. May I suggest that you point other community members like Lediard to https://discourse.charmhub.io/search?q=microstack as a place for community collaboration? It will be much easier to get help there as discourse is actively monitored by the Canonical OpenStack engineering team.
Regards
Hi Rodrigo, excellent write up. I ran into this same issue and followed your instructions but found a minor issue. Not sure if its unique to my environment but i had to add a line to the workaround script to add the network gateway address to br-ex. below is my modified script:
#!/bin/bash
#
# Workaround to enable physical network access to MicroStack
#
# Adds the server physical ip address to br-ex. Replace the physicalcidr and gateway values to match your NIC’s IP address and gateway
physicalcidr=192.168.1.16
gateway=192.168.1.1
# Add IP address to br-ex
ip address add $physicalcidr dev br-ex || :
ip link set br-ex up || :
ip route add default via $gateway dev br-ex || :
Damn this is wicked cool
Hi,
First of all thanks a lot for this great tutorial. However, I am facing below issues:
1. After putting the commands about the “Workaround” the Horizon dashboard is showing authentication error:
ovs-vsctl add-port br-ex enp3s4
ip addr flush dev enp3s4
ip addr add 192.168.1.10/24 dev br-ex
ip link set br-ex up
2. By following your suggested scripts ‘microstack-br-workaround and ‘microstack-br-workaround.service’ the system is not up after rebooting.
Could you please help me on that? Thanks again
Dear Rodrigo,
Thank you so much.
I have spent endless days, nights, weeks, breaking my head against Devstack.
And then I found your article and was able to accomplish right just exactly what I needed!
So I would like to say thank you and pay back with this small contribution to your article – a gist of the script which automates all steps: https://gist.github.com/meetmatt/da9e7364dec04a43465e20c430fb58df
There are a few things ToDo and some parts I’m still figuring out how to map the Horizon UI to openstack CLI, but other parts are well tested and work as intended.
Great work!
Btw, Mike is right, you need to restore the default gateway after moving the host physical IP to OVS.
sudo ip r add default via 192.168.1.1
my problem from the microstack server can’t connect to the internet. please help.. Thanks before.
Hi Rodrigo!
Thank you for this turorial!
It worked for me 2 months ago but now that i’ve reinstalled ubuntu server and lost evrything,
I’m unable to run the network configuration anymore.
physical network: 10.2.0.254/24
instance network: 10.2.1.0/24
When i run the `microstack-br-workaround` with the ip `10.2.1.253/24` i can access it from every devices but i cannot access VMs.
I have an instance with the floating ip `10.2.1.126` and i can reach it from the microstack node but not from other devices.
Same thing for the openstack router(10.2.1.50)
I used to do:
– Packet scanning
– Try older versions of microstack(rocky)
– Try other network configuration
– Spend hours on searching for help
– And a lot of things
But after 3 weeks i still don’t find why this is not working now.
it would be really cool if anyone could help me solving this problem!(i’m actually planning to create my own private cloud with microstack, juju and k8s)
Discord:Sensei-CHO#3473
Email: senseicho@protonmail.com
Hey! thanks a lot!
For me, the connectivity works ONLY after I added the gateway route (after “ip link set br-ex up”:
ip route add default via dev br-ex
And also add same cmd in the microstack-br-workaround file..
ip route add default via dev br-ex || :